

Herbal Resin COASTERS - DIY
Chamomile Meadow Coasters
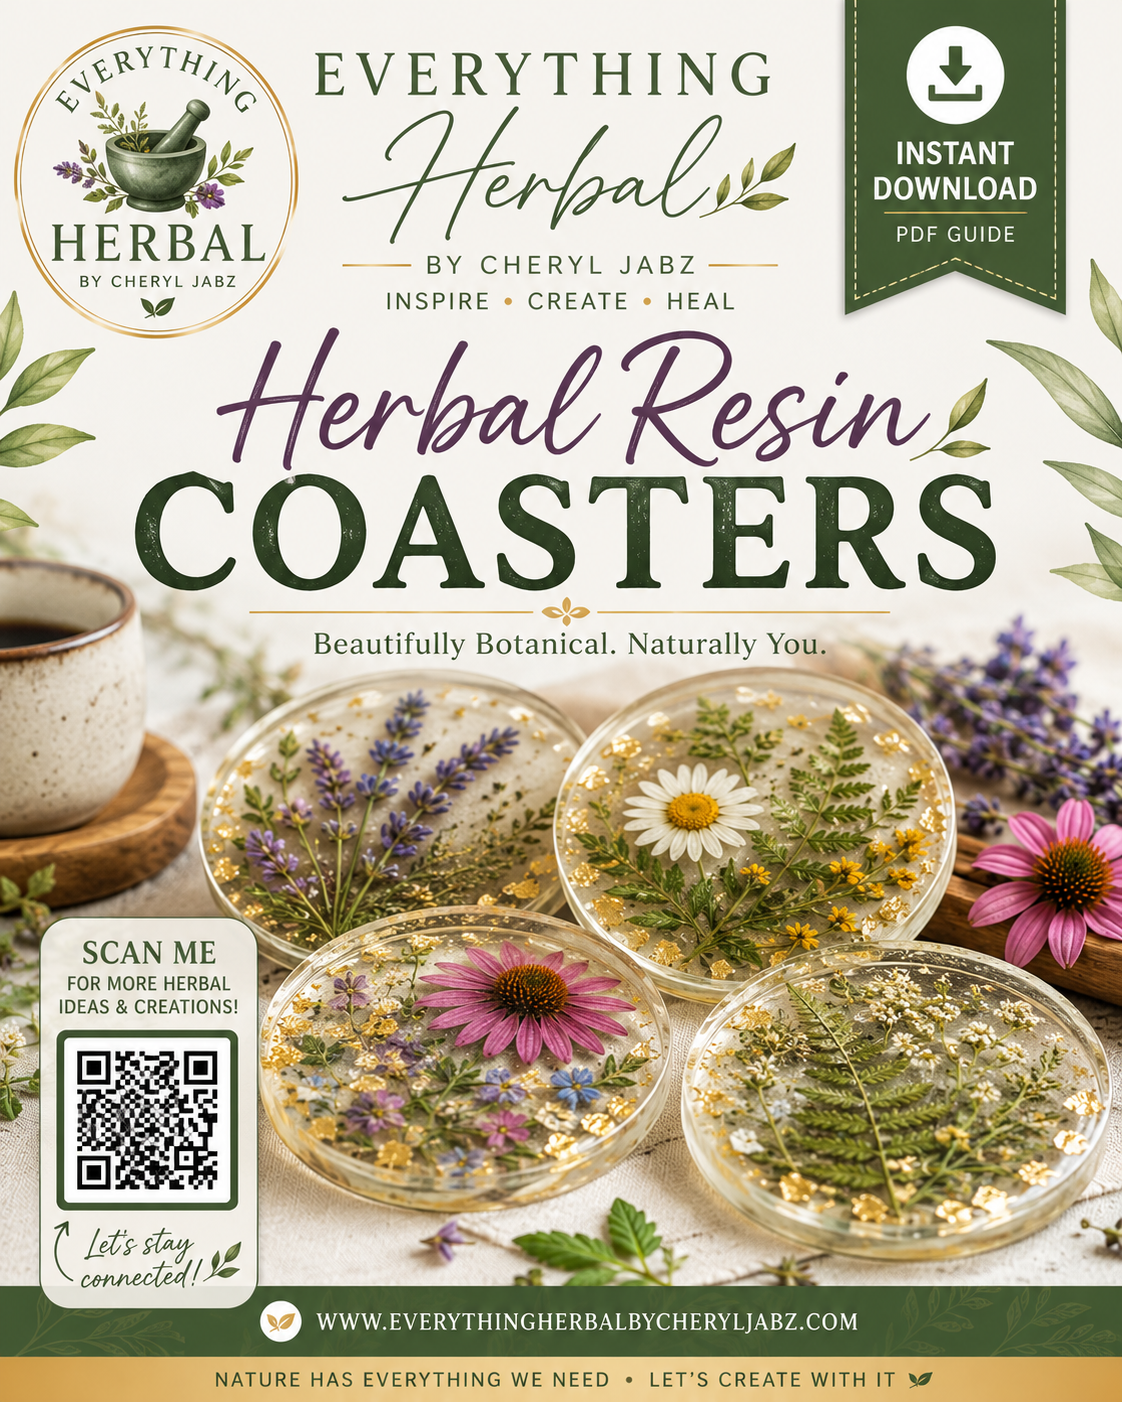
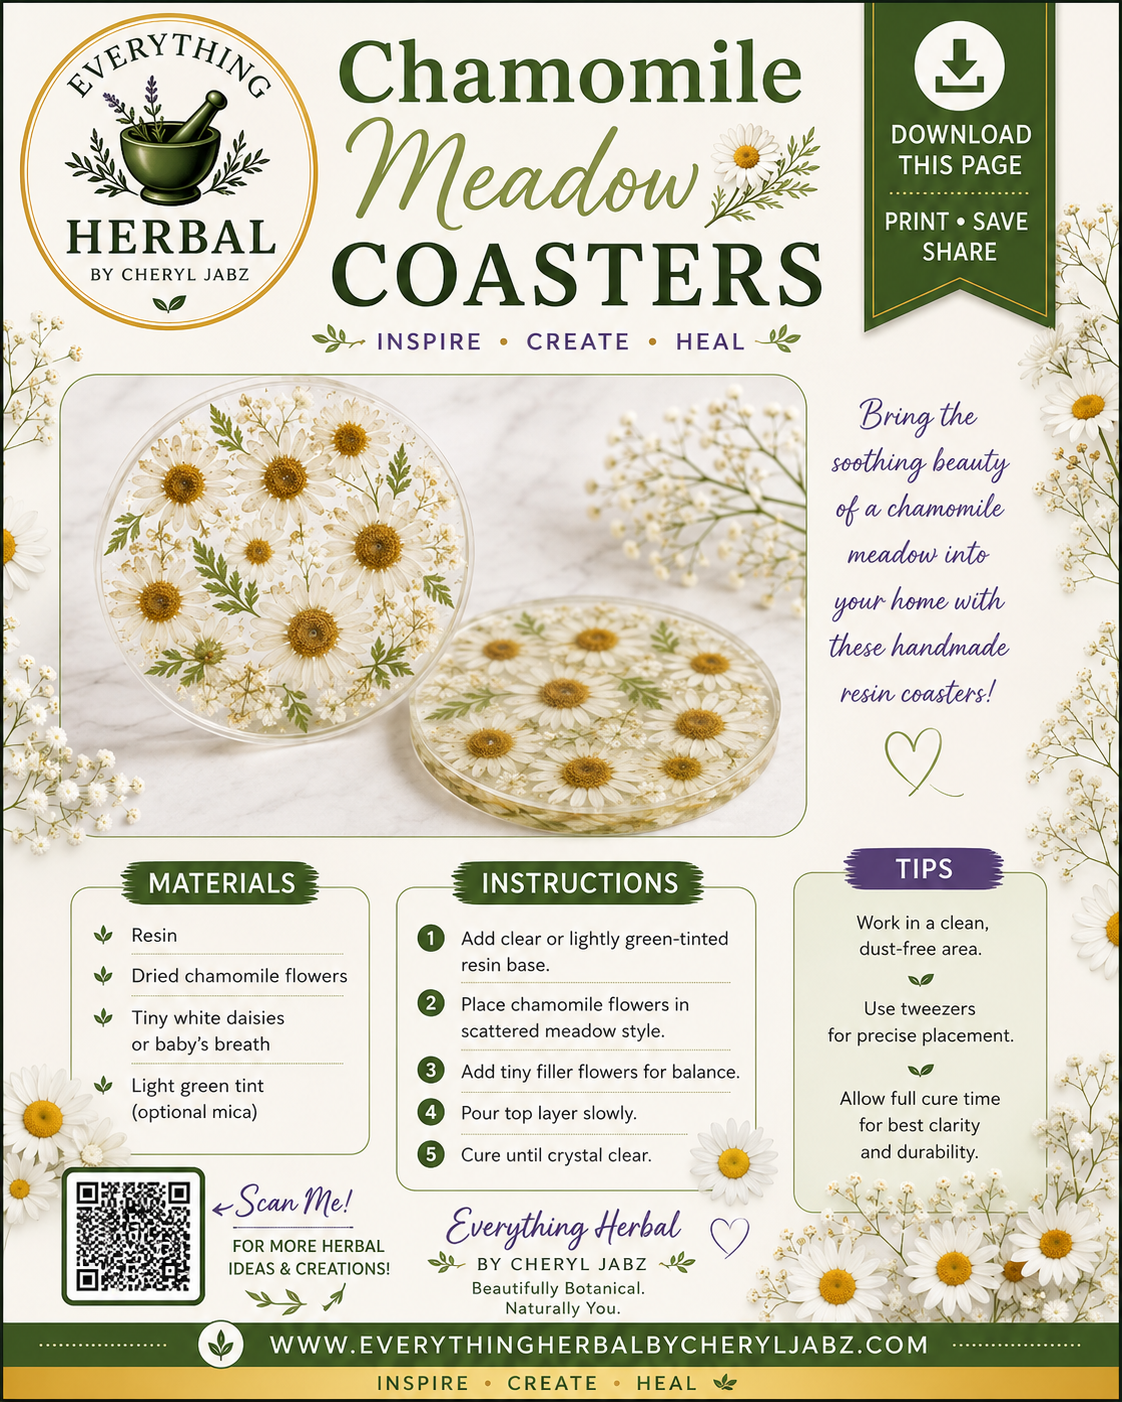
These charming handmade resin coasters feature dried chamomile flowers and delicate meadow blooms preserved in crystal-clear resin. Their soft floral design brings a peaceful, garden-inspired touch to your home and makes a beautiful gift for nature lovers, tea enthusiasts, or anyone who enjoys elegant botanical décor.
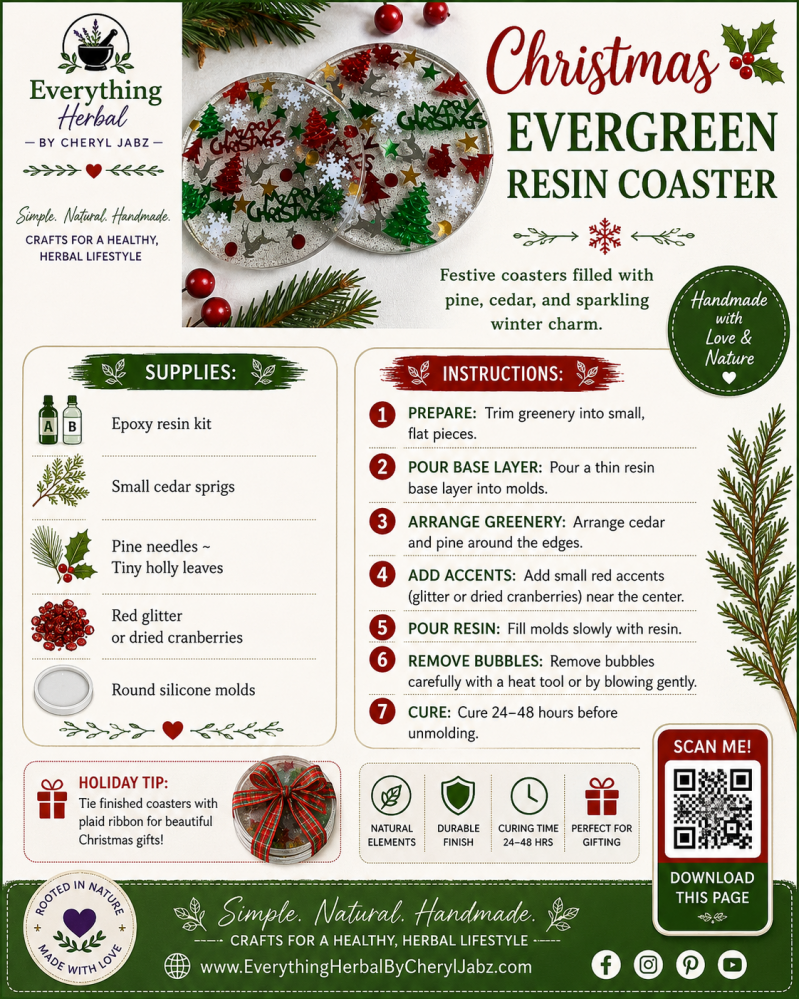
Christmas Evergreen Coasters
Christmas Evergreen Resin Coasters are festive handmade decorations filled with pine, cedar, holly accents, glitter, or dried cranberries. Their sparkling holiday design makes them beautiful for seasonal décor, entertaining, or thoughtful Christmas gifts.
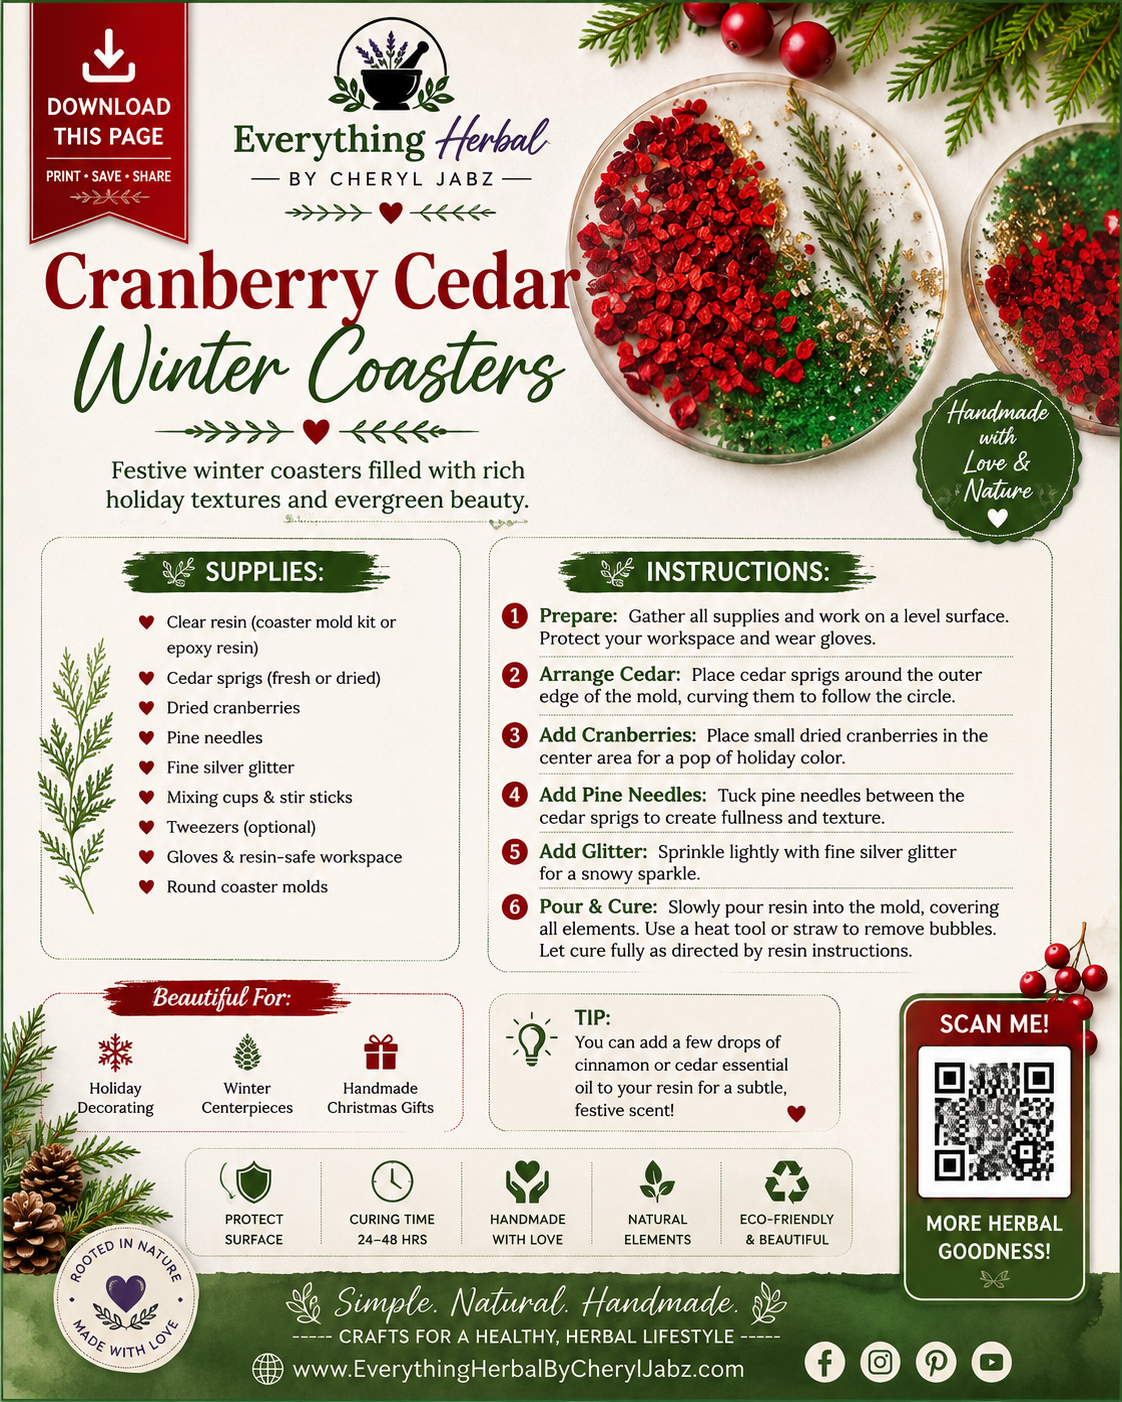
Cranberry Cedar Winter Coasters
Cranberry Cedar Winter Coasters are festive resin crafts featuring cedar sprigs, dried cranberries, pine needles, and a touch of glitter. They make beautiful handmade decorations, seasonal centerpieces, or thoughtful holiday gifts.
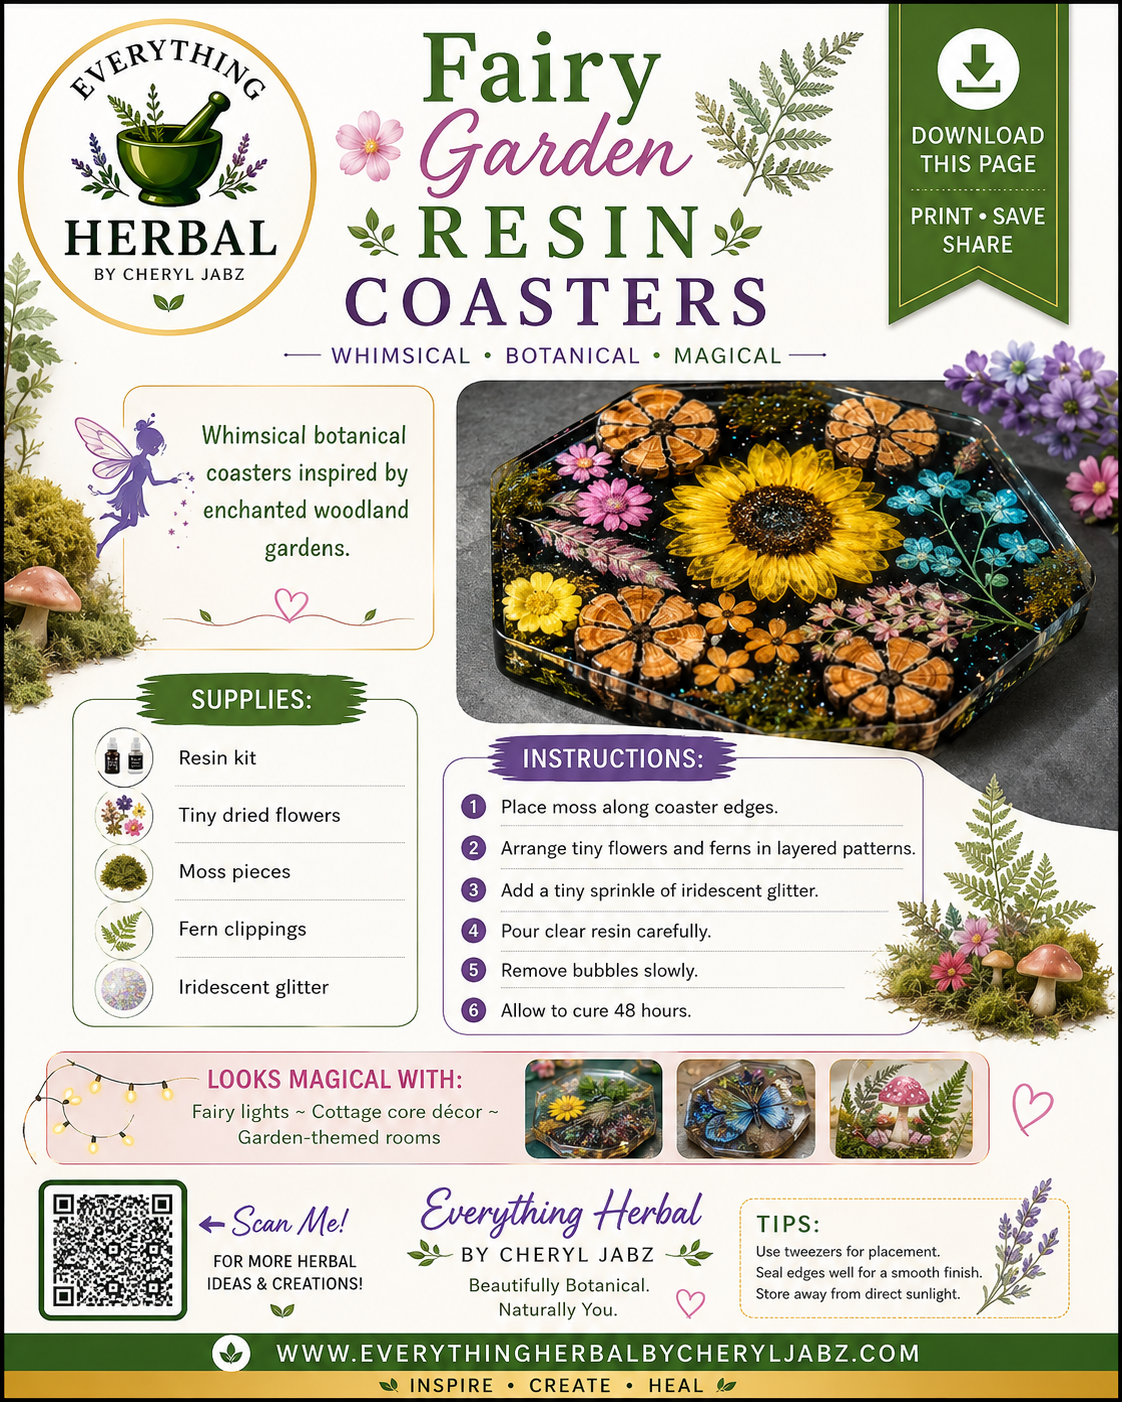
Fairy Garden Resin Coasters
These enchanting handmade resin coasters feature tiny dried flowers, delicate ferns, soft moss, and a touch of iridescent glitter to create a magical woodland-inspired design. Perfect for fairy garden enthusiasts, cottagecore décor, or whimsical handmade gifts, they bring a charming touch of nature and imagination to any home.
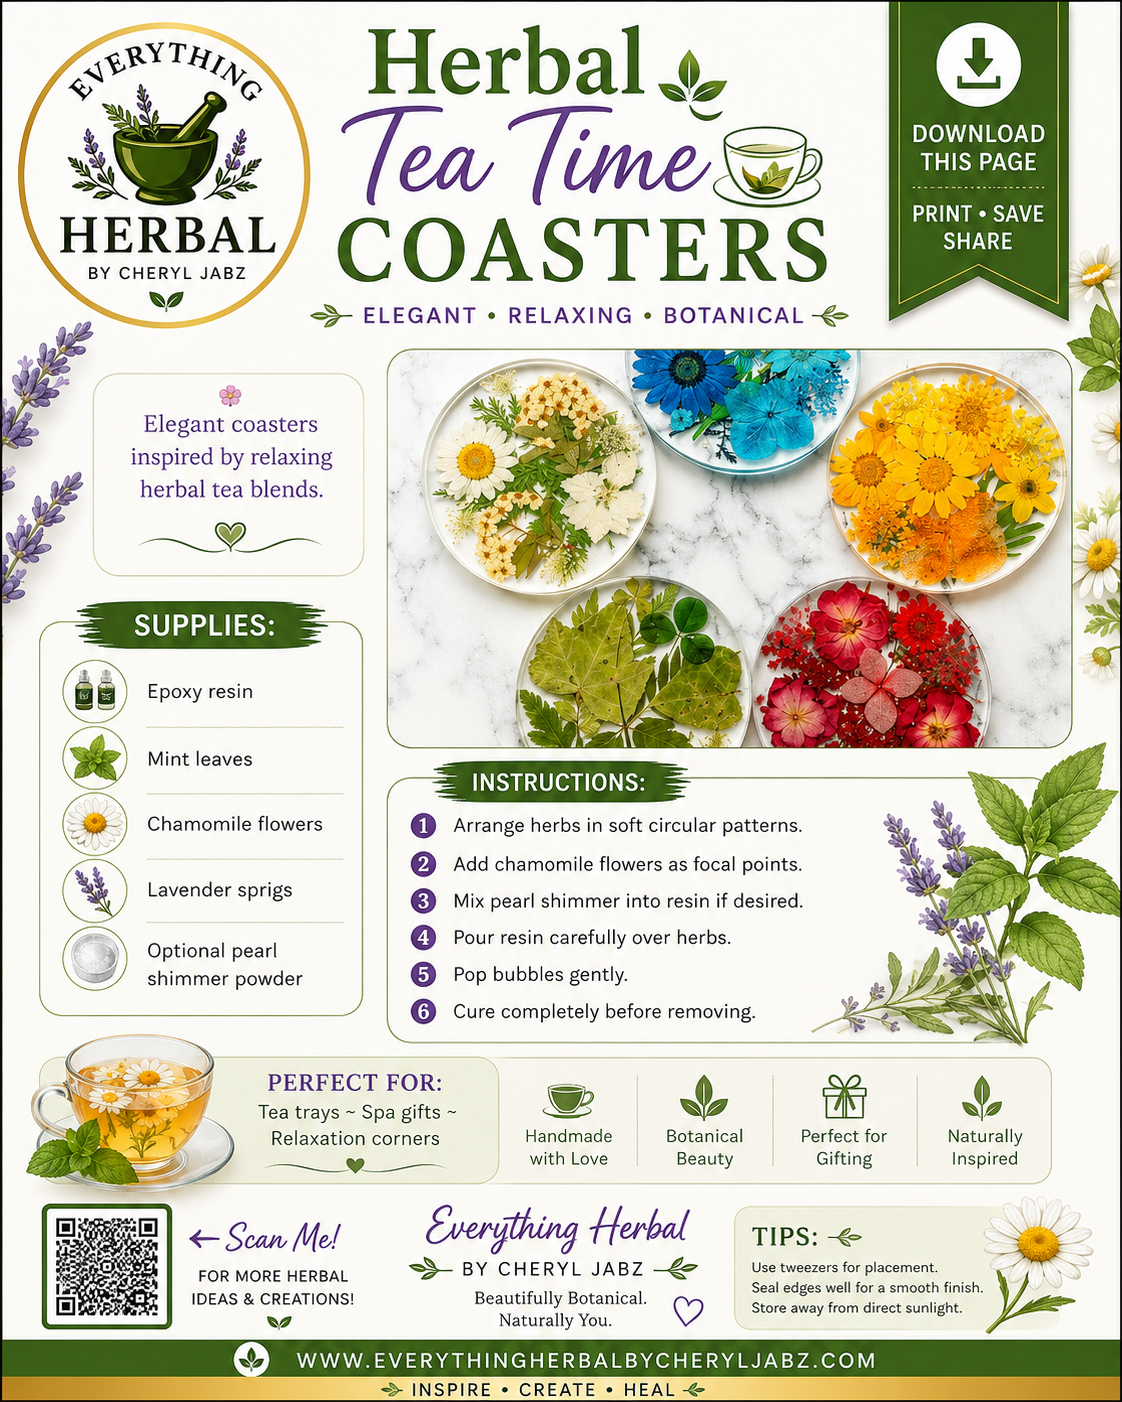
Herbal Tea Time Coasters
These elegant resin coasters preserve mint leaves, chamomile flowers, and lavender sprigs in beautiful botanical patterns. Perfect for tea trays, relaxing spaces, spa gifts, or thoughtful handmade presents, they add a peaceful herbal touch to any home.
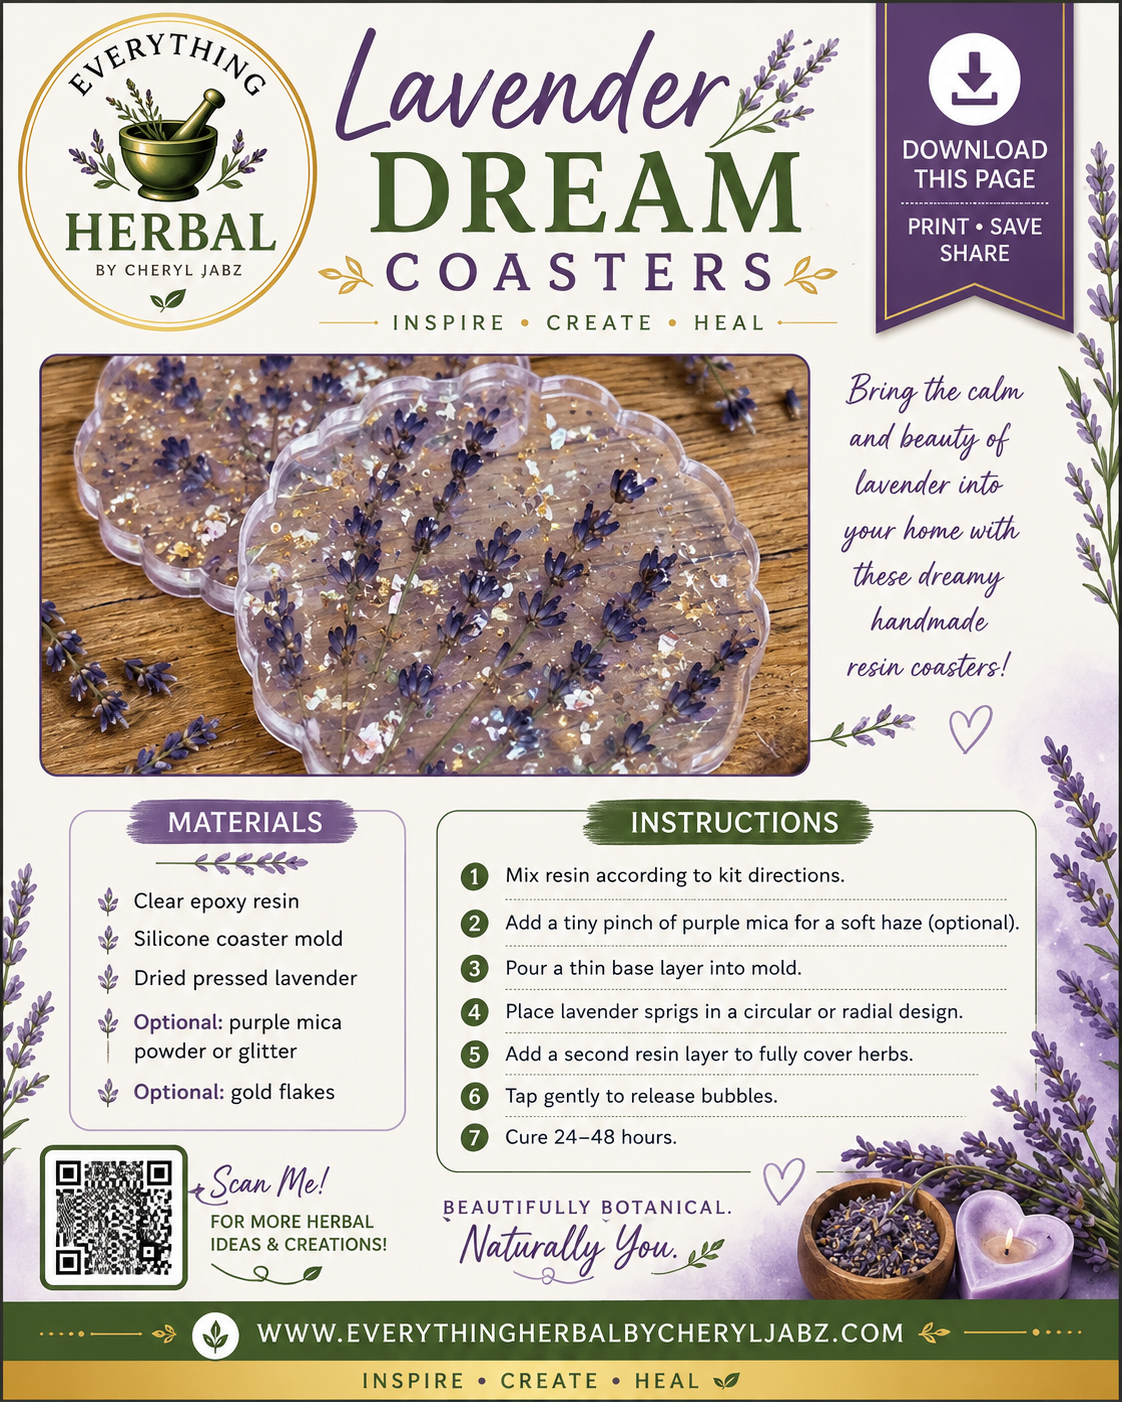
Lavender Dream Coasters
These elegant handmade resin coasters feature pressed lavender preserved in crystal-clear resin, creating a calming botanical design. With optional purple mica and gold flakes for extra sparkle, they make beautiful home décor, thoughtful gifts, and charming additions to any cottage-inspired or herbal-themed space.
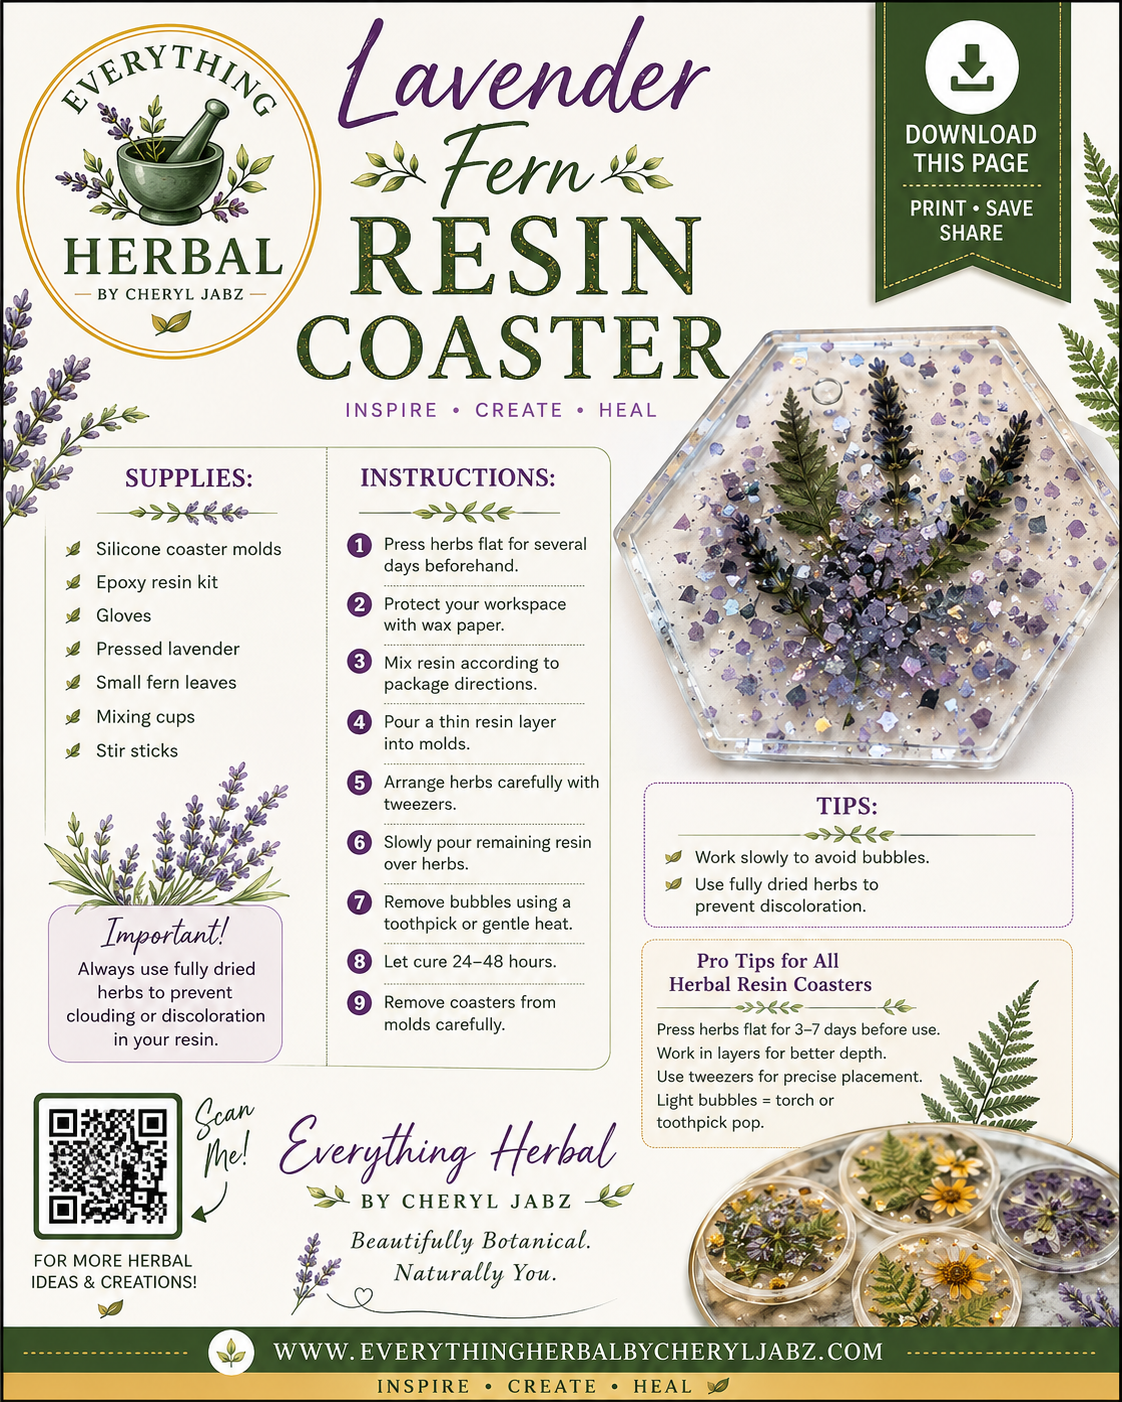
Lavender Fern Resin Coaster
Create a beautiful handmade resin coaster featuring delicate pressed lavender and fern leaves preserved in crystal-clear resin. This elegant botanical craft adds a touch of nature to your home while protecting surfaces. Perfect as a thoughtful handmade gift, cottagecore décor, or a unique keepsake, these coasters combine creativity with timeless natural beauty.
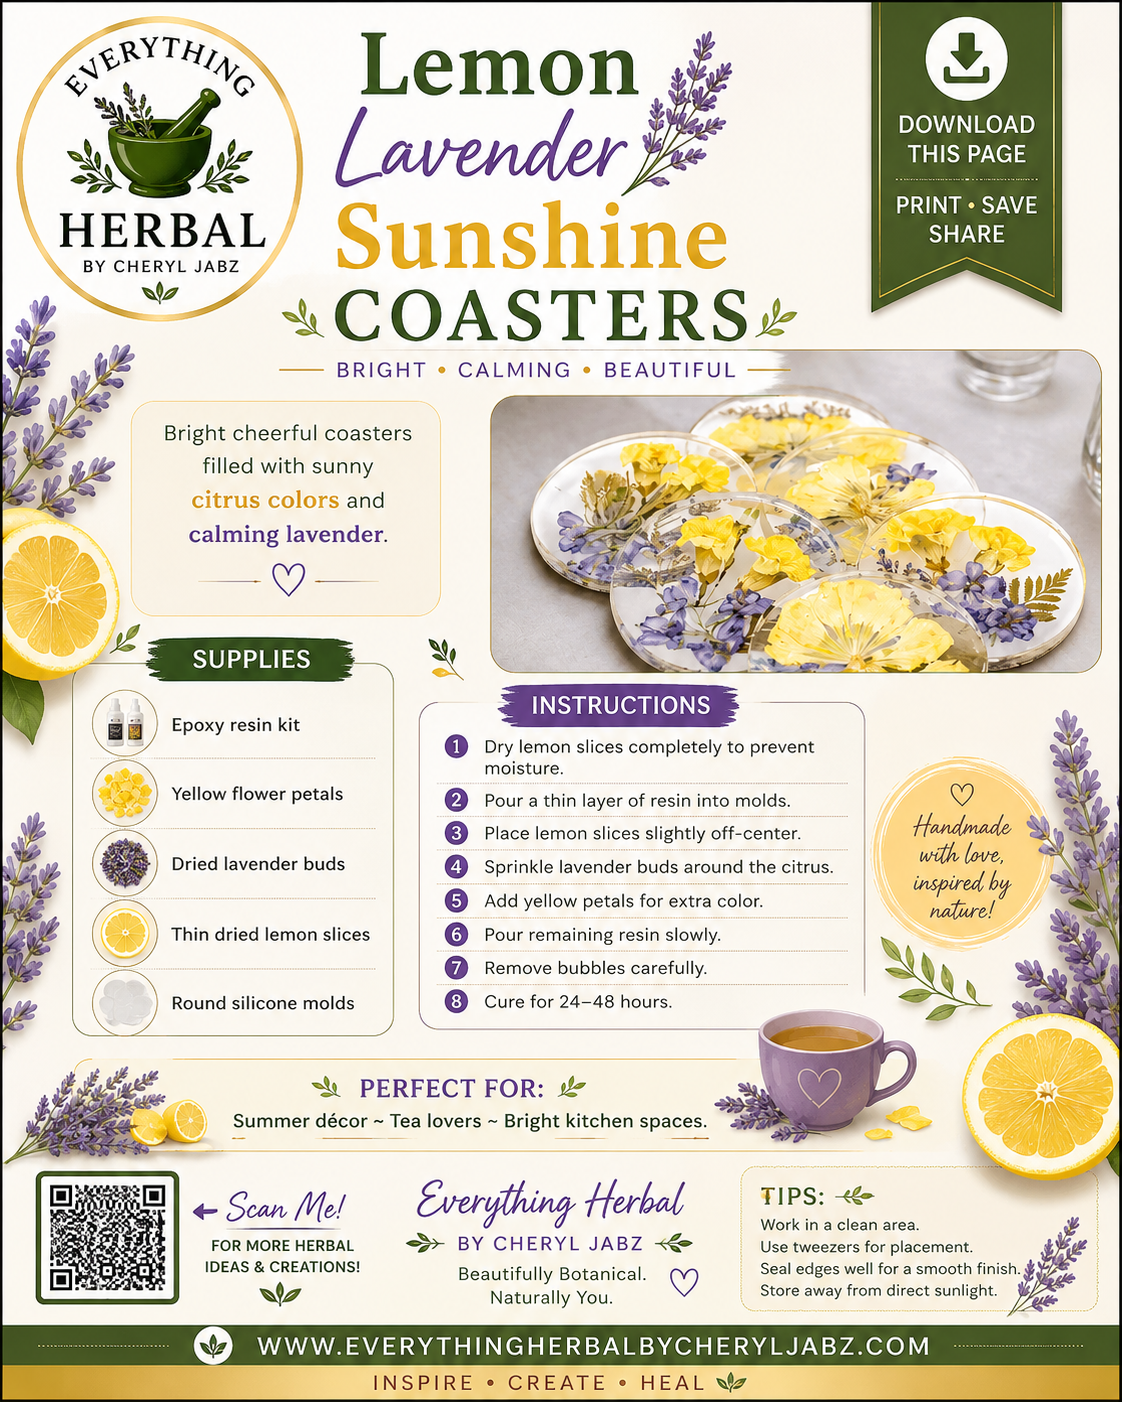
Lemon Lavender Sunshine Coaster
These bright botanical resin coasters combine dried lemon slices, lavender buds, and cheerful yellow flowers to create a fresh, sunny design. Perfect for summer décor, tea lovers, and nature-inspired kitchens, they add a colorful handmade touch while bringing the calming beauty of lavender and the vibrant charm of citrus into your home.
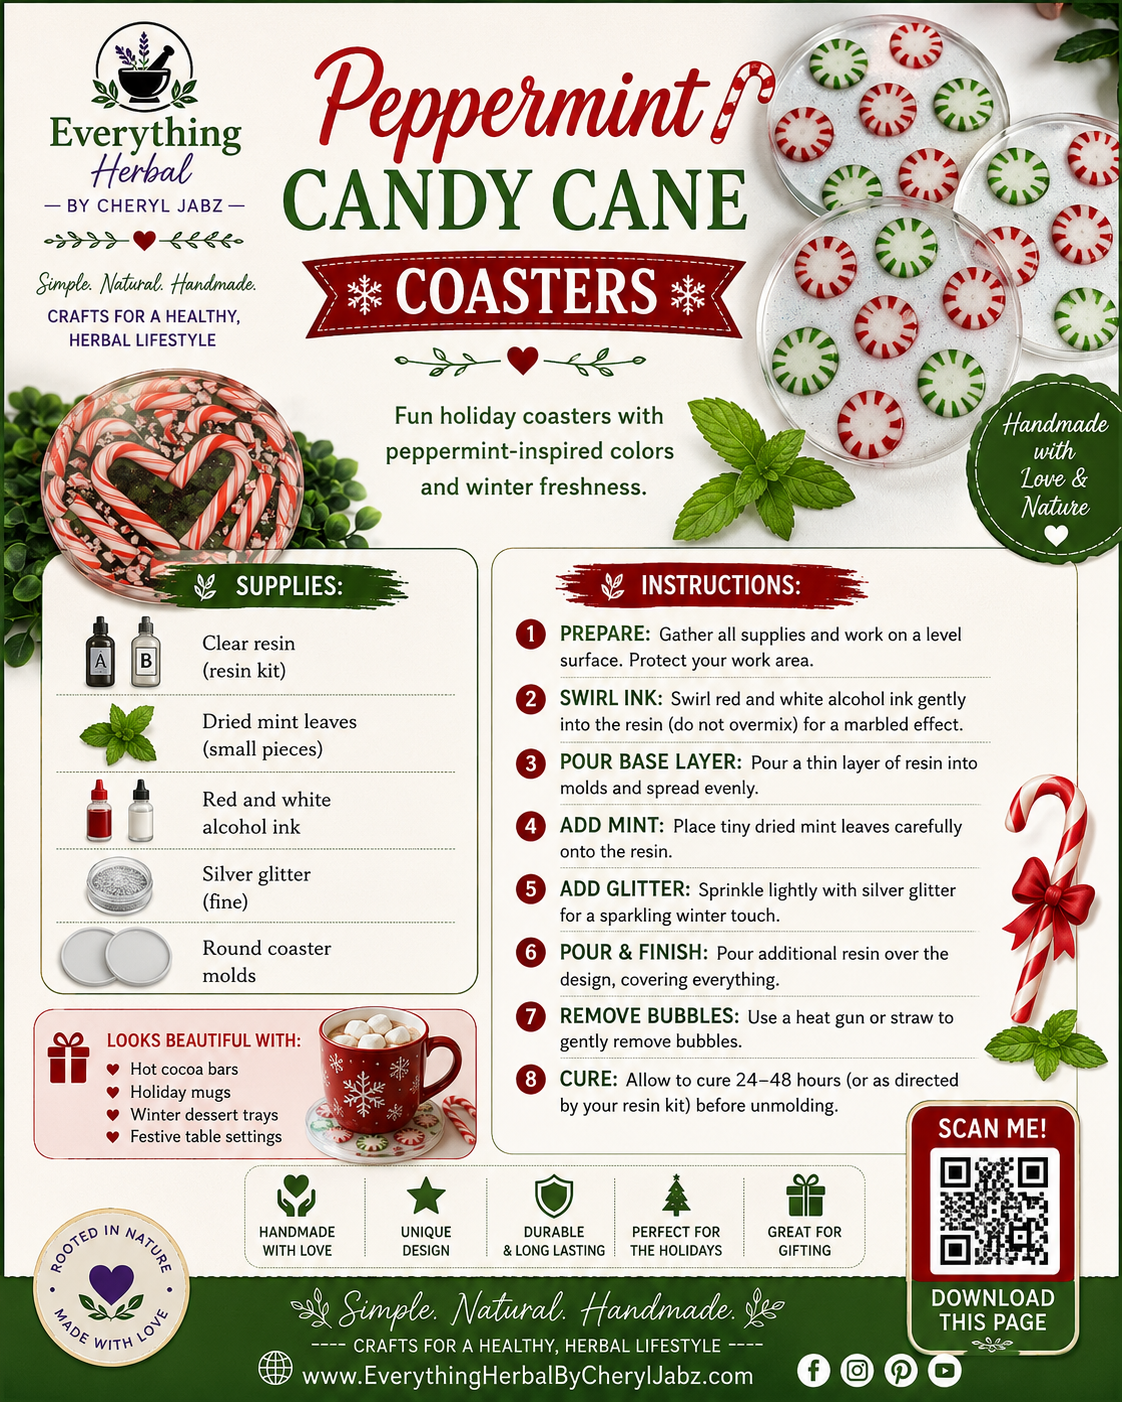
Peppermint Candy Cane Coasters
Peppermint Candy Cane Coasters are festive resin crafts featuring red-and-white swirls, dried mint leaves, and sparkling silver glitter. They add cheerful holiday color to cocoa bars, dessert tables, seasonal entertaining, and handmade gift sets.
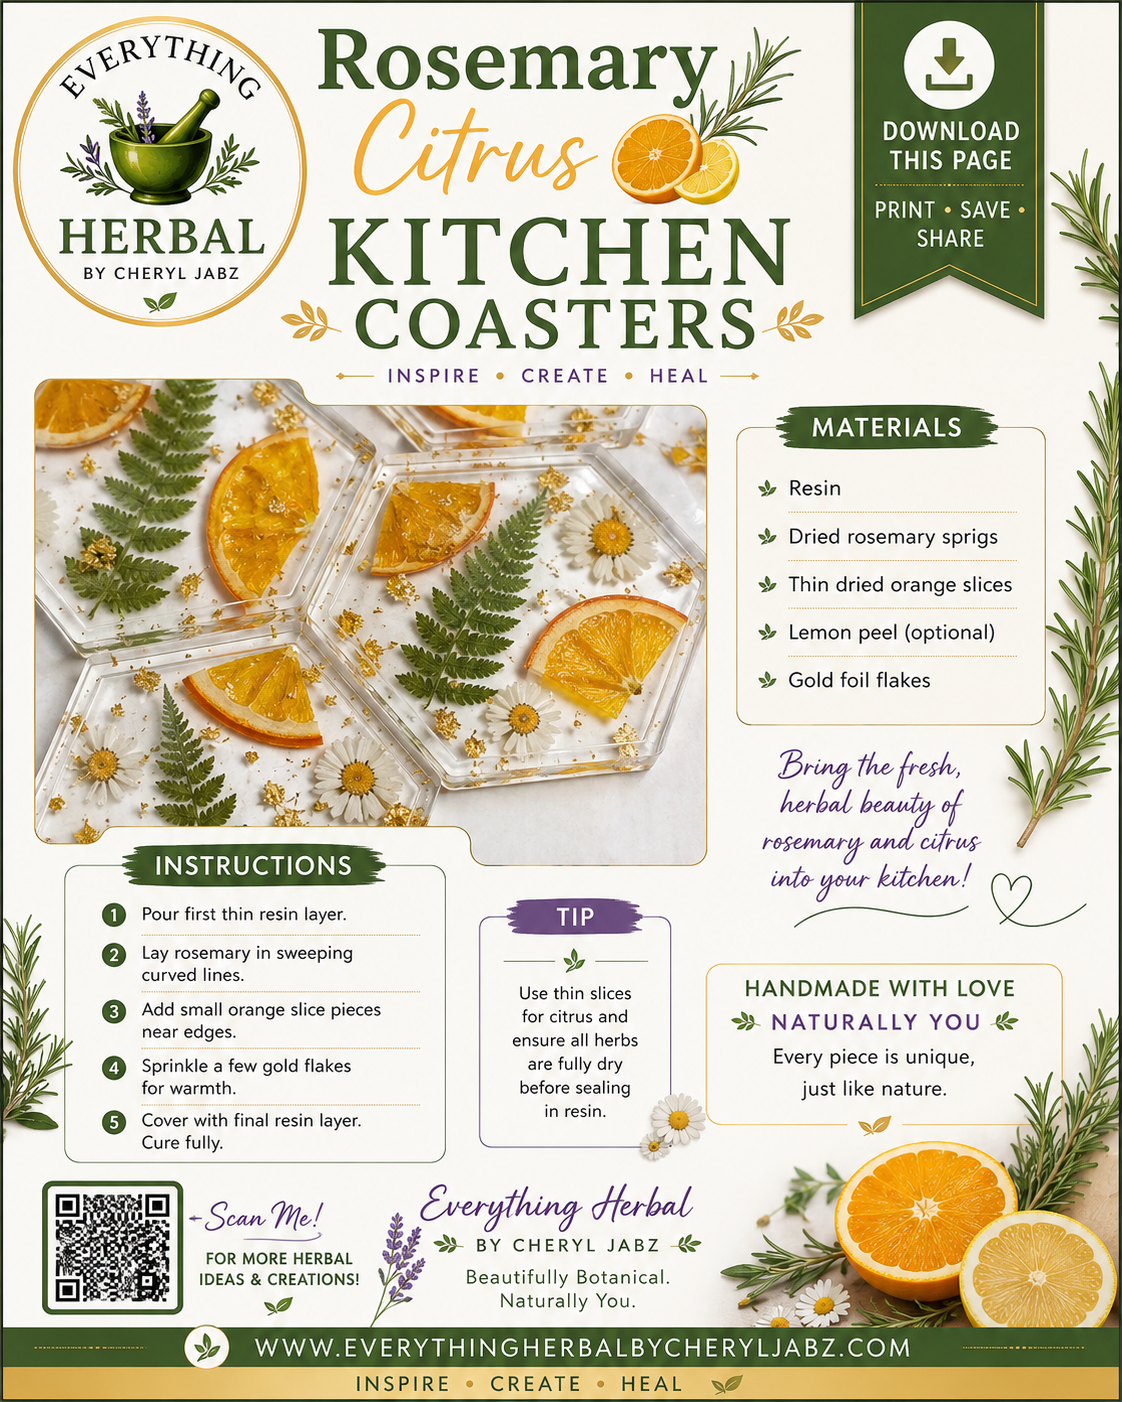
Rosemary Citrus Kitchen Coasters
These fresh botanical coasters combine dried rosemary, bright citrus slices, delicate flowers, and gold flakes in clear resin. Their sunny, nature-inspired design adds warmth to the kitchen and makes a lovely handmade gift or decorative table accent.
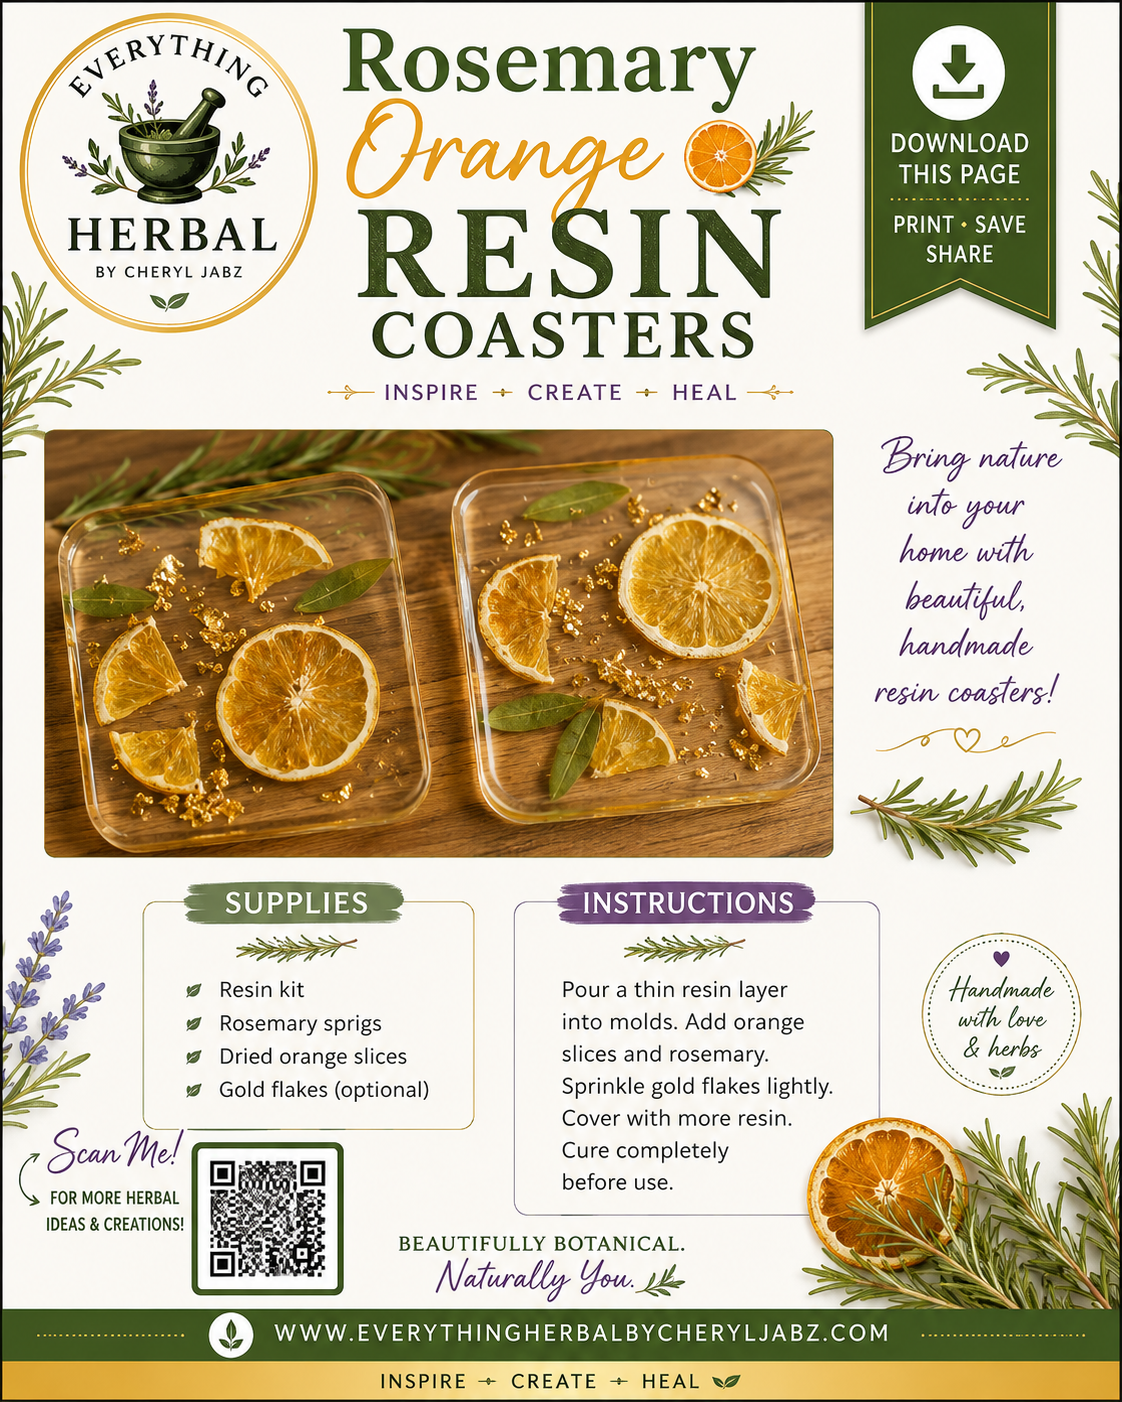
Rosemary Orange Resin Coasters
These cheerful botanical coasters preserve dried orange slices and rosemary sprigs in clear resin, with optional gold flakes for added sparkle. They make beautiful handmade décor, thoughtful gifts, and bright nature-inspired accents for any table.
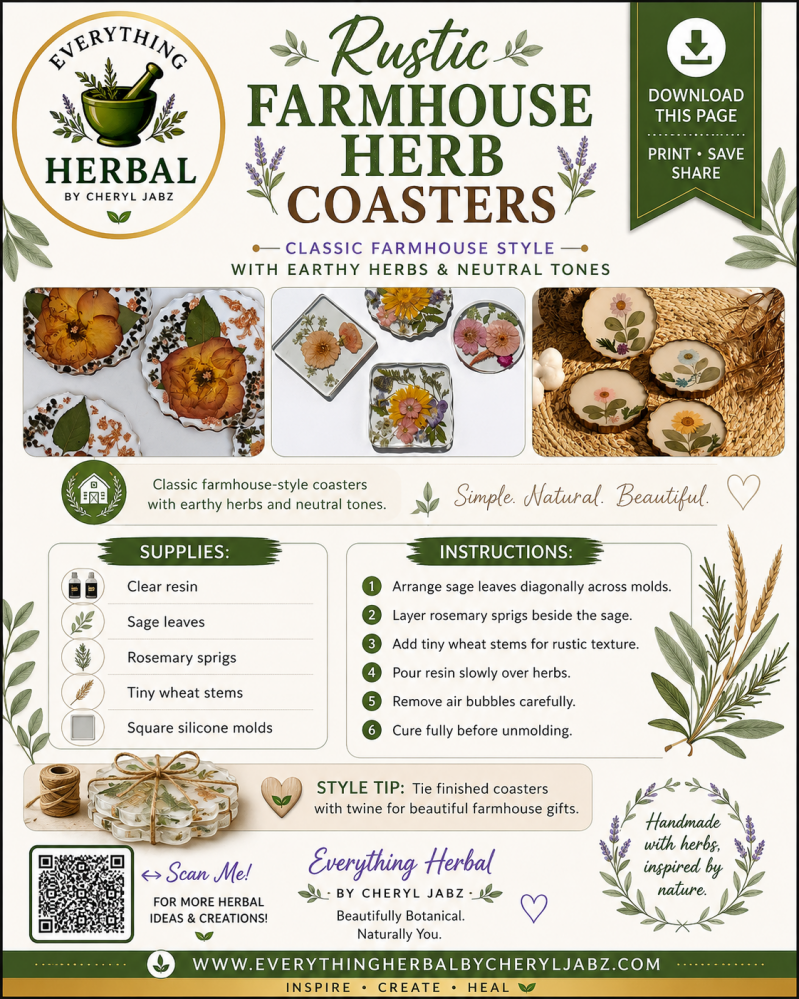
Rustic Farmhouse Herb Coasters
These charming handmade resin coasters feature sage leaves, rosemary sprigs, tiny wheat stems, and earthy botanical accents. Their warm, natural style is perfect for farmhouse décor, kitchen tables, craft fairs, or thoughtful handmade gifts tied with rustic twine.
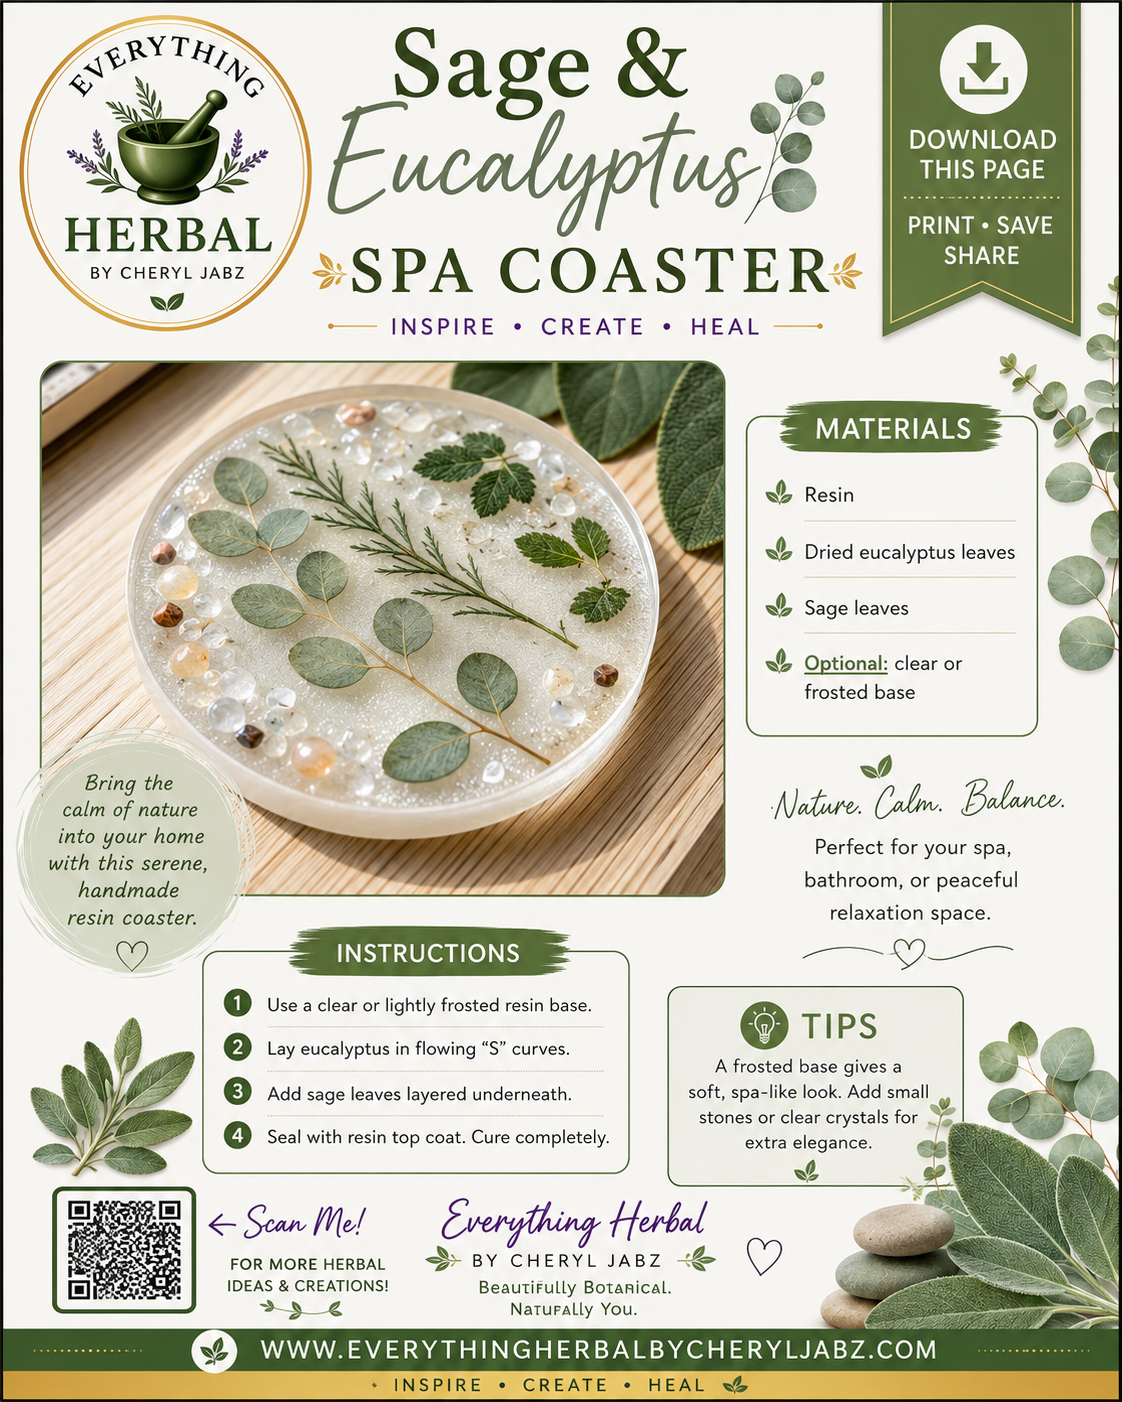
Sage & Eucalyptus Spa Coaster
This serene handmade resin coaster features dried sage and eucalyptus leaves arranged in a clear or softly frosted base. Its calming botanical design adds a peaceful spa-like touch to bathrooms, relaxation spaces, or home décor and makes a thoughtful nature-inspired gift.
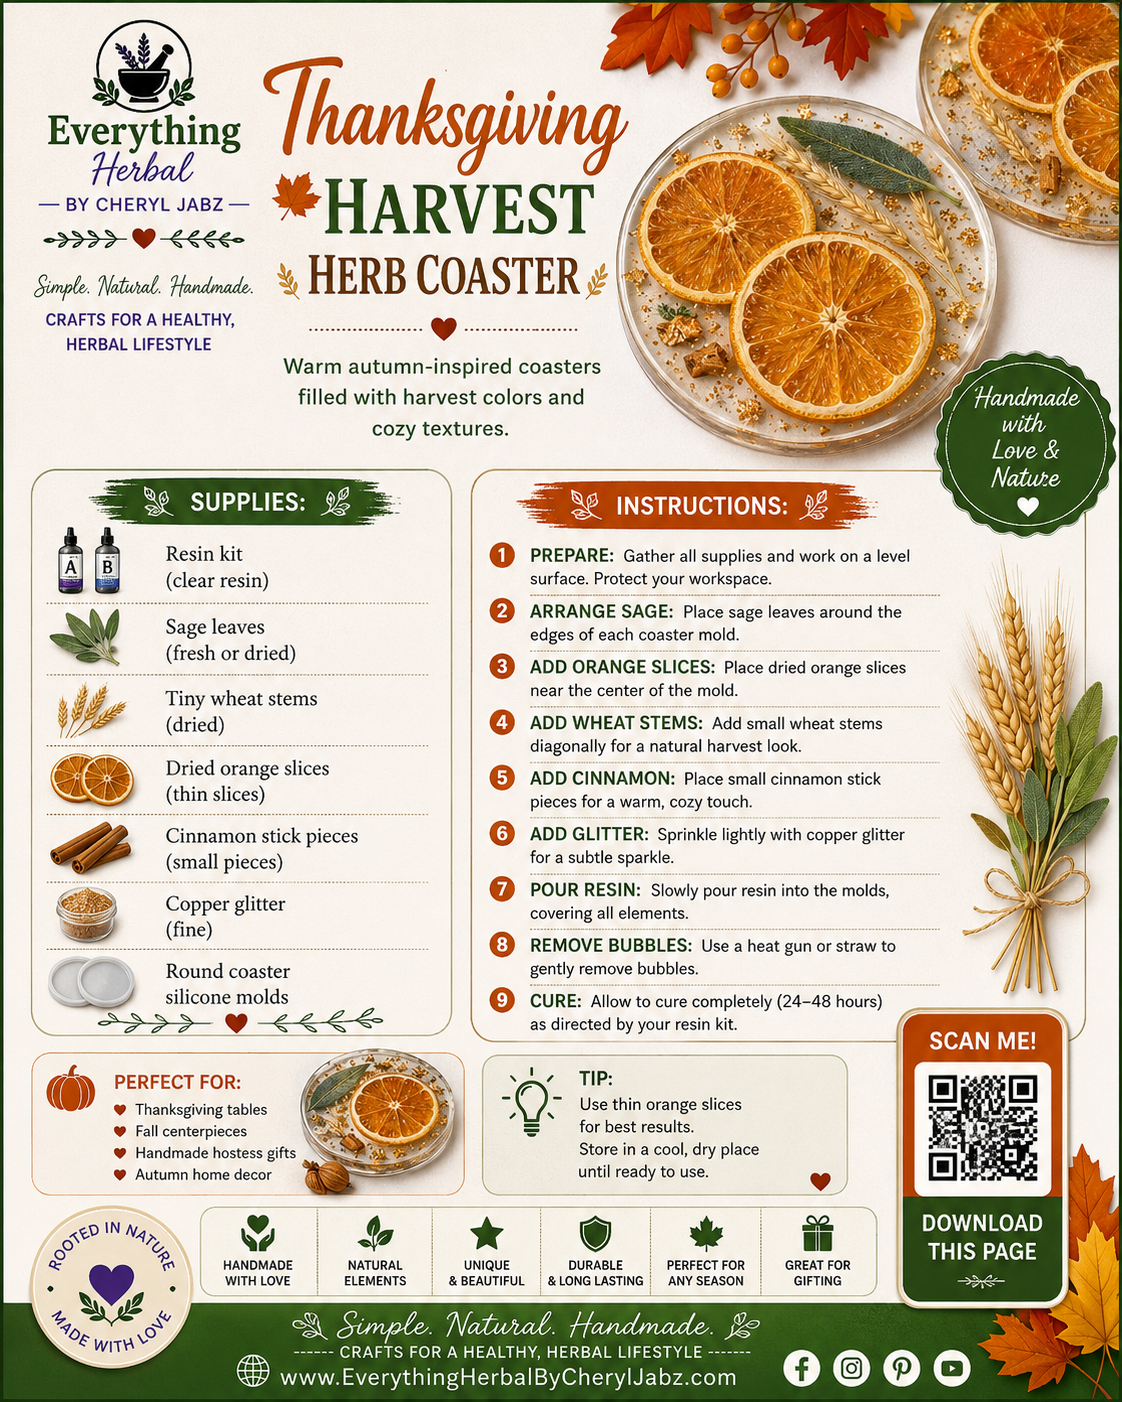
Thanksgiving Havest Herb Coaster
Thanksgiving Harvest Herb Coaster is a warm, autumn-inspired resin craft featuring dried orange slices, sage leaves, wheat stems, cinnamon pieces, and a touch of copper glitter. It creates a cozy seasonal accent that’s perfect for Thanksgiving tables, fall decorating, and thoughtful handmade hostess gifts.